
I haven't done a Friday Favorites post since March of 2015 but it's a feature I enjoy because I can always think of a favorite to chat about. I hope you'll enjoy some of my favorites, too. Today's topic is planners, planning, and more specifically, how to organize the myriad of stickers that are available to decorate your planner.
I've only been a serious planner for about the last year after I was introduced to the world of Erin Condren and other such planner companies by my good friend Liz. She had her planner open at a meeting we were attending and I remarked on how organized and decorative it looked. Uh oh, an obsession was about to be born! I've always had a calendar or date book, I love to scrapbook, and I consider my blog a form of journal so here was a way to combine all three into an art form all of my own design.
Most planners have pretty basic features - a two-page spread featuring the entire month, two-page spreads for each week, and some sort of notes feature or section. I am currently using the Erin Condren hourly planner, having switched from the vertical planner that I used last year. I have to say that I'll be switching back to the vertical planner next year as I just haven't been as happy with the hourly one. It's just a layout preference.
I do most of my planning weekly but I also use the two-page spread for the entire month to jot down quick notes (usually in pencil) so that when I sit down to plan the next week, I can see things that have to be transferred from the monthly page to the relevant week.
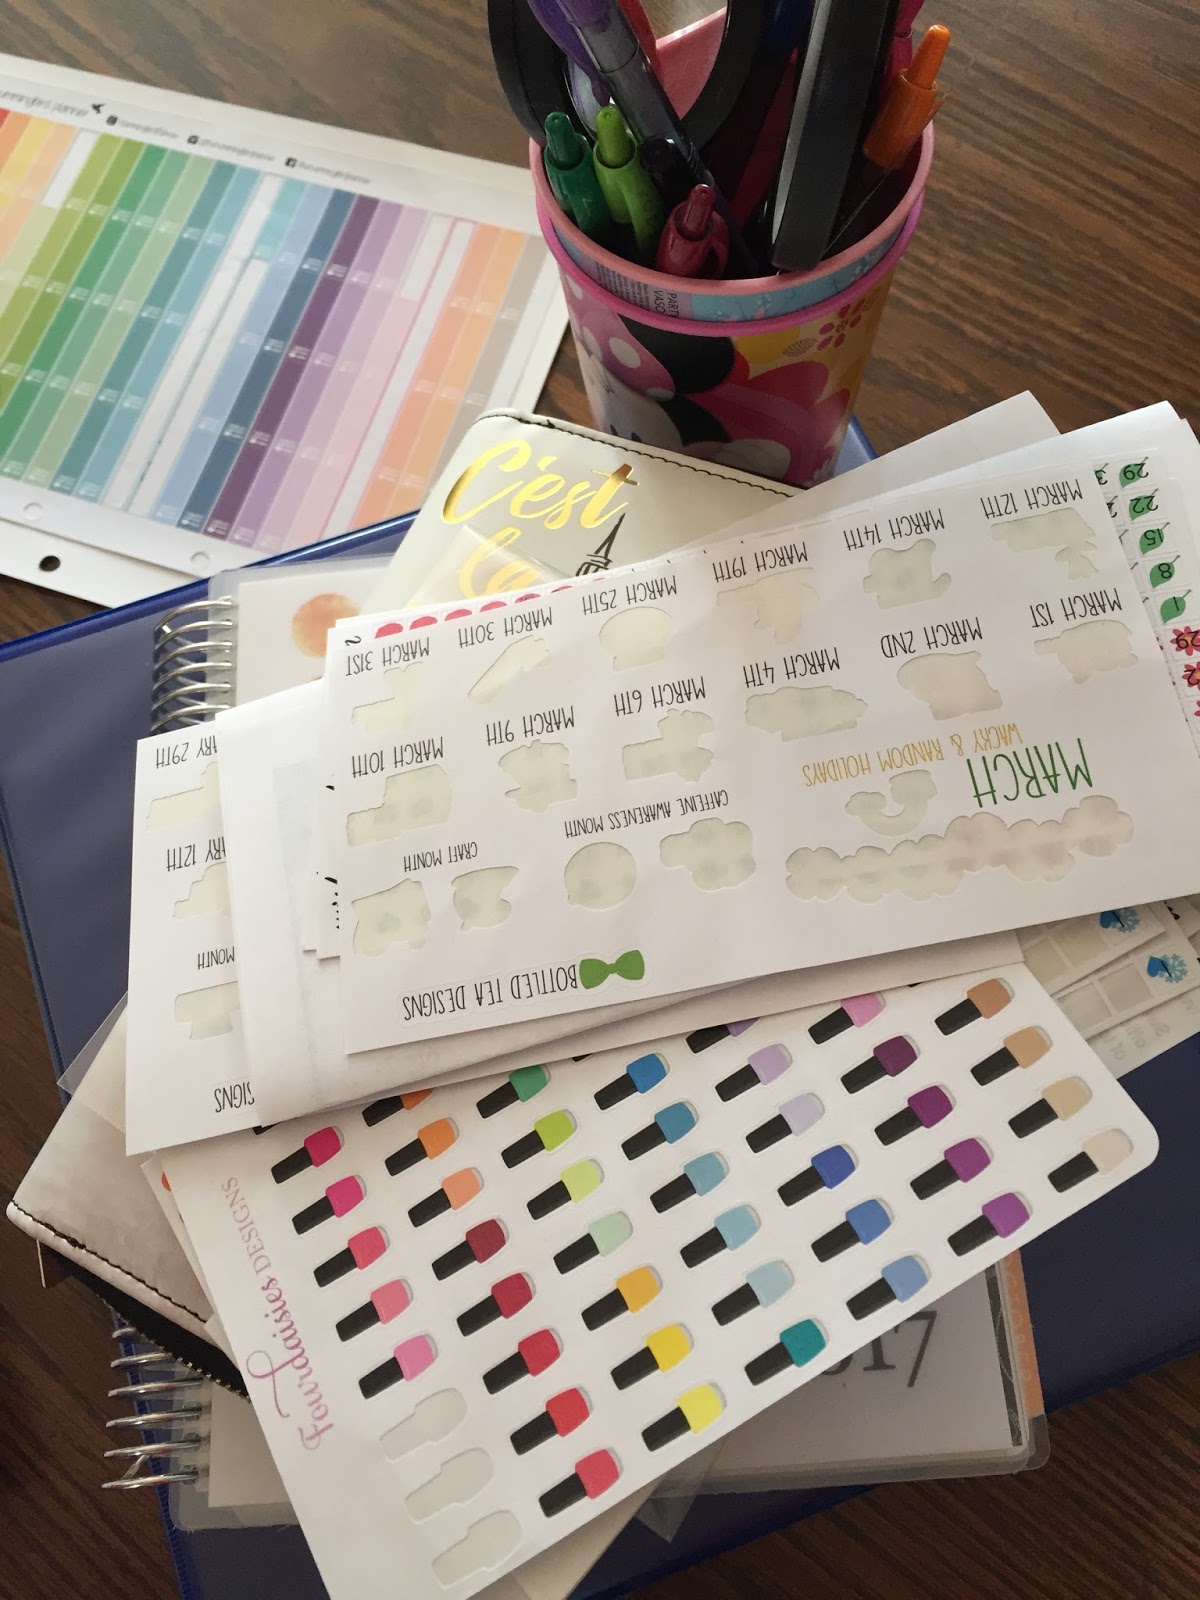
Over the last few months, my purchases of stickers (decorative and functional) have increased exponentially and I needed to come up with some sort of system to keep everything organized. I turned to my Facebook planning group (it's actually the group page of my favorite Etsy shop, Bottled Tea Designs) for advice.
I had been using a standard letter-size three-ring binder to organize my stickers. I adhered my sticker sheets to cardstock, hole-punched the cardstock, and placed it in the binder with alphabetical divider tabs. It soon became very cumbersome. It was a mistake to adhere the sheets to the cardstock as I ended up with twice the thickness and getting the stickers off the sheets was difficult because of the stiffness of the cardstock. I compounded the problem by adding some binder accessory pockets to store the sticker sheets I decided not to adhere to cardstock.


Several members of the planning group suggested a small 8.5 x 5.5 inches binder with protector sleeves. Most of the stickers I have purchased are this size or smaller so it seemed to be the most efficient way to store them. I was surprised when my local office supply store failed to have a single binder or protector sleeve in this size! My husband had several binders of this size that he was using for his work and he was in need of the protector sleeves as well, I turned to Amazon.com and found that a package of 15 sheets was $10 but I could buy a box of 300 sheets for $65 - a much better deal. I held off on buying binders from Amazon because Target had been suggested as a place to find them and there they were along with protector sleeves as well ($4 for 15 so the Amazon price was still a better deal).


So, armed with two binders and a stack of protector sleeves, I organized my stickers alphabetically but made a separate section at the end for the months of the year where I could file seasonal stickers for holidays and special events. I included a table of contents in the front of each binder - A-P fits in the first binder, with Q-Z and the months of the year in the second one.

I love my new system and would like to thank my planning group for their suggestions.
My daughter just got a Happy Planner and is enjoying it so much. It may be contagious .... I enjoyed reading about your new system.
ReplyDeleteDang it....now I am not sure what I want to do again!
ReplyDelete